Getting to the upload page #
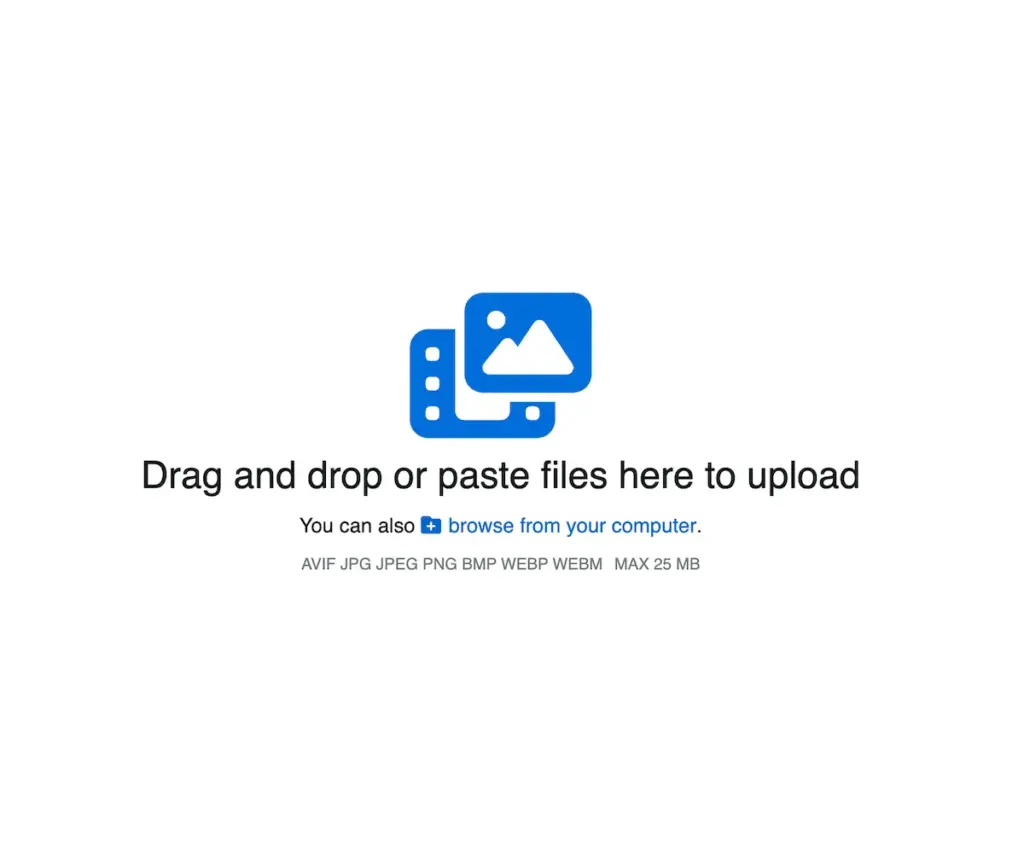
You can upload photos at https://tobacora.com/upload, or by following the Upload link in Tobacora’s navigation. From there, you can drag and drop files into the upload area, paste them, or click Browse on your computer to select them manually. The upload page also shows the supported formats and the current file size limit, so you can quickly confirm that everything is ready before you begin.
Uploading more than one photo at a time #
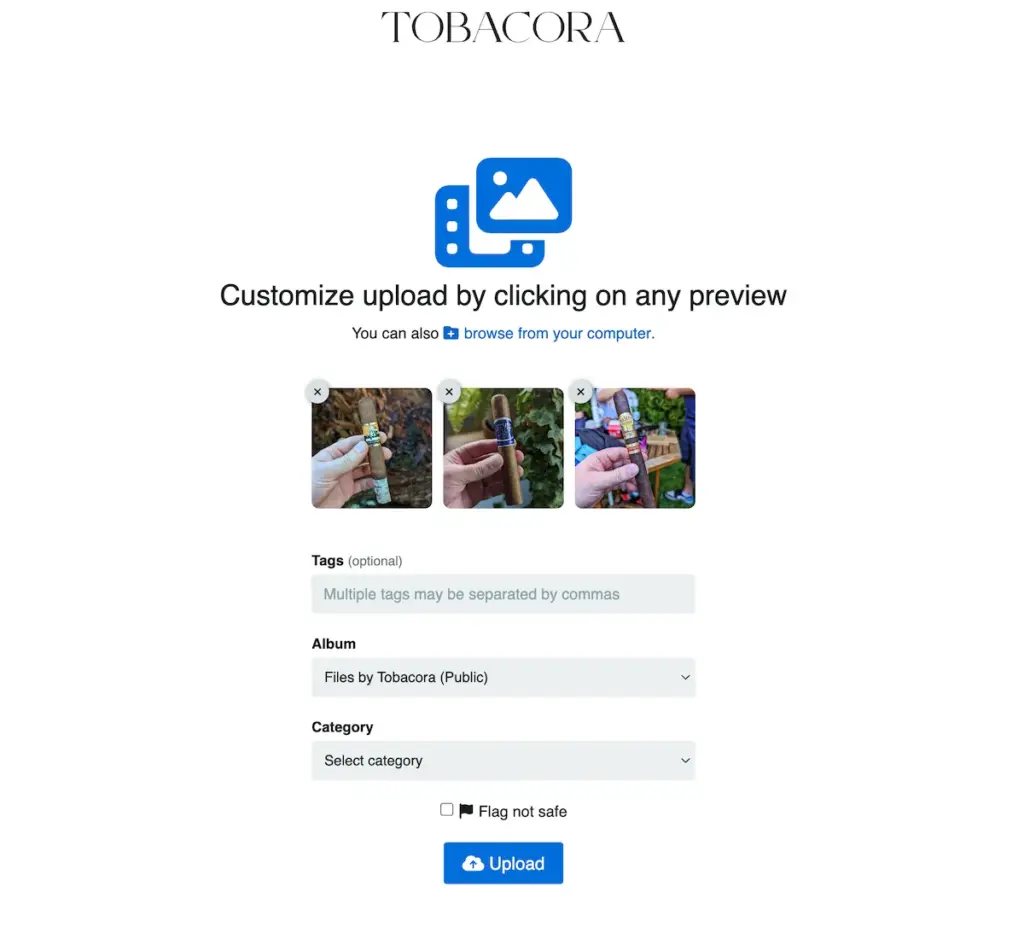
Tobacora supports multiple file uploads, which makes it much easier to add a larger batch of cigar photos in one go instead of repeating the process image by image. Once your files are selected, they appear as thumbnails in the upload window, and from there you can either keep things simple or add more information before uploading.
Basic information before upload #
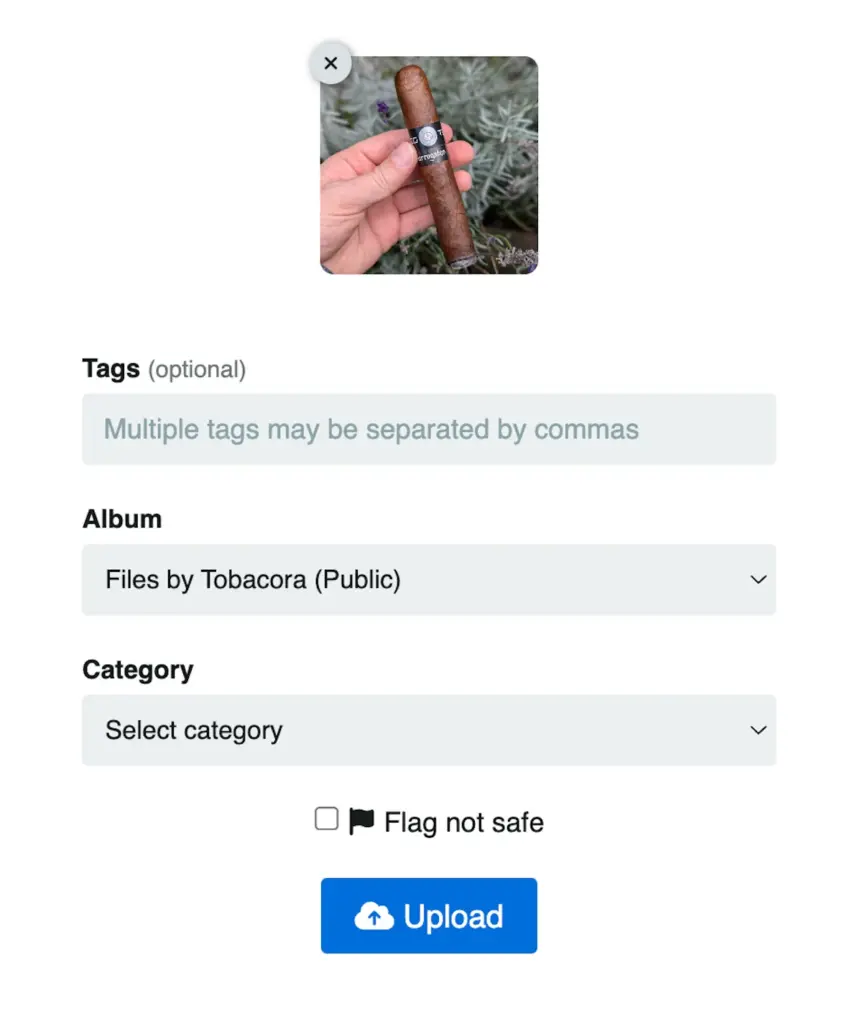
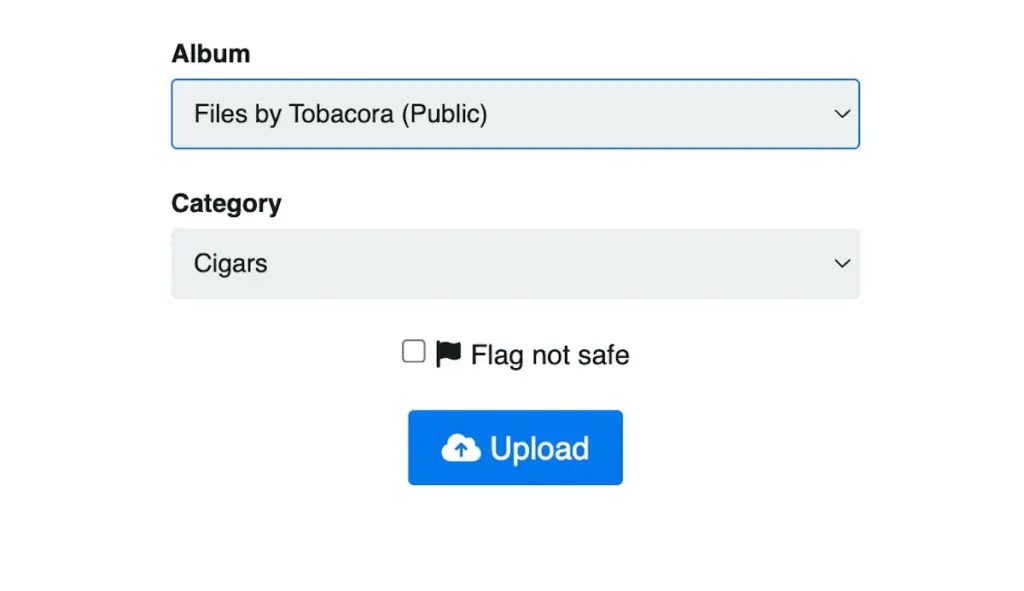
Once your photos appear as thumbnails, you can fill out the basic upload fields right away. This is where you can add tags, choose an album, and assign a category before the files go live. On Tobacora, as it currently works, albums need to be created first in the Albums section of your profile, and then you can select that album during upload. If you do not choose an album, the image will simply be uploaded to your main gallery feed.
Editing each photo before it goes live #
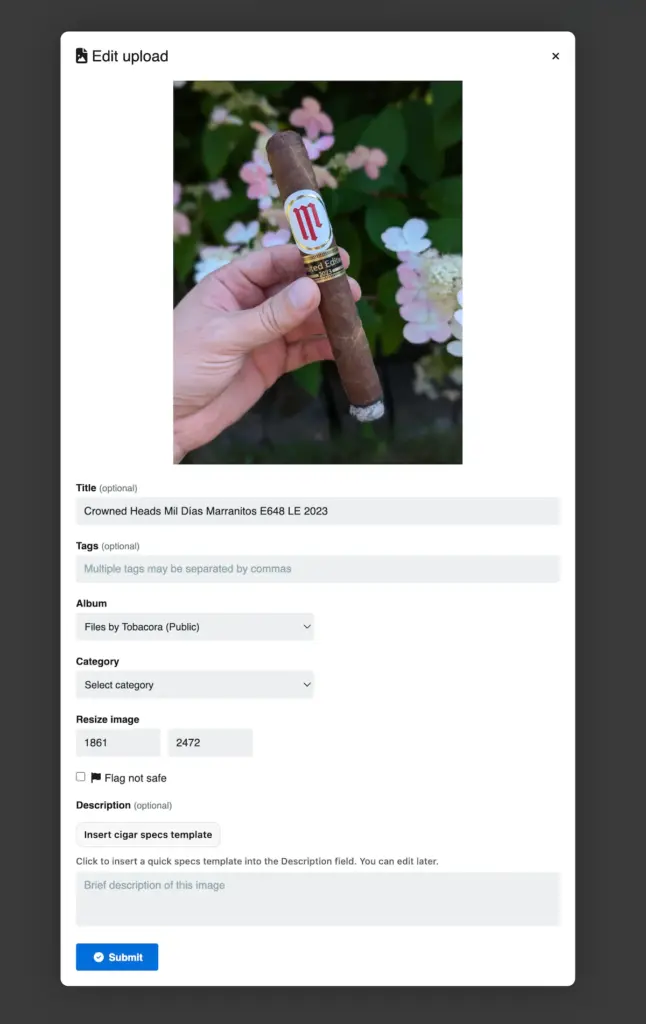
If you want to do more than just upload the image, click on any thumbnail preview before it goes live. That opens the edit window for that specific file, where you can change the title, add tags, choose an album and category, resize the image if needed, and write a description. This is where a photo starts becoming a proper record rather than just another file in your gallery.
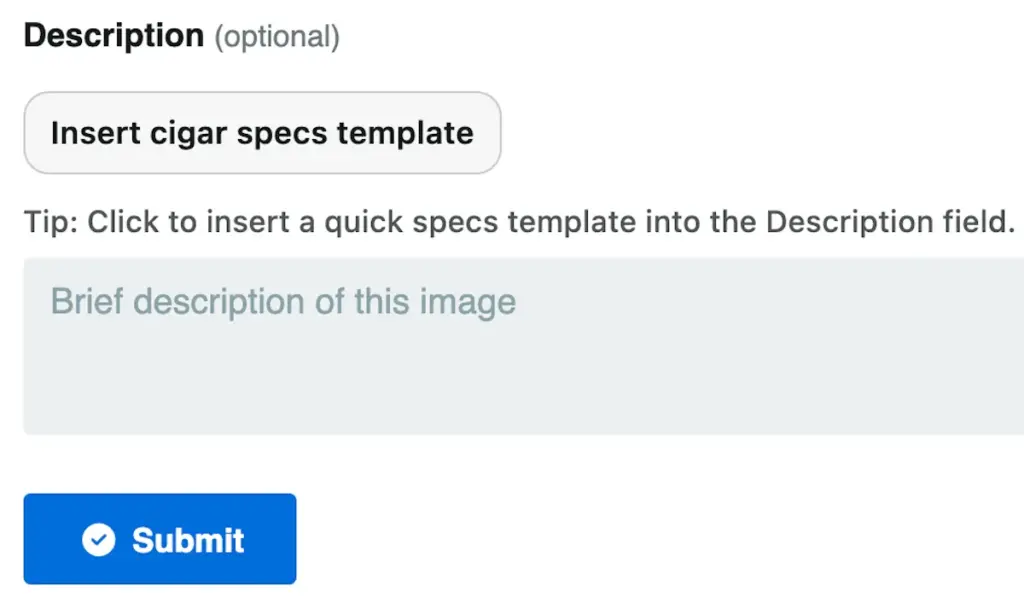
Using the description field #
The description field is where Tobacora becomes more than just a photo gallery. You can use it to add notes, smoking impressions, cigar reviews, or any other details you want to keep attached to the image. Tobacora also includes the Insert cigar specs template button, which drops in a simple cigar record format with fields such as Size, Wrapper, Binder, Filler, Origin, Strength, Time (min), and Notes. It is a clean way to keep your entries more consistent, especially as you build a serious archive over time.
Finishing the upload #
Once you are done adding or adjusting the information for each file, click Submit to save those changes in the upload window. After that, return to the main upload page and press Upload to complete the process and send the files to Tobacora.
Editing after upload #
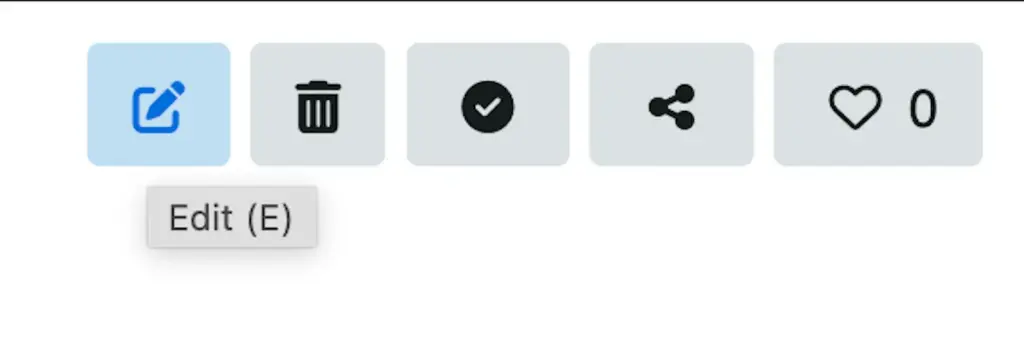
Nothing is locked in once the photo is live. After upload, you can still edit the image information later from the photo’s page by clicking the Edit button. On a desktop, you can also press E while viewing the photo to jump straight into editing. The media page edit form allows you to change the title, tags, album, category, and description after upload.
What you can do on the photo page #
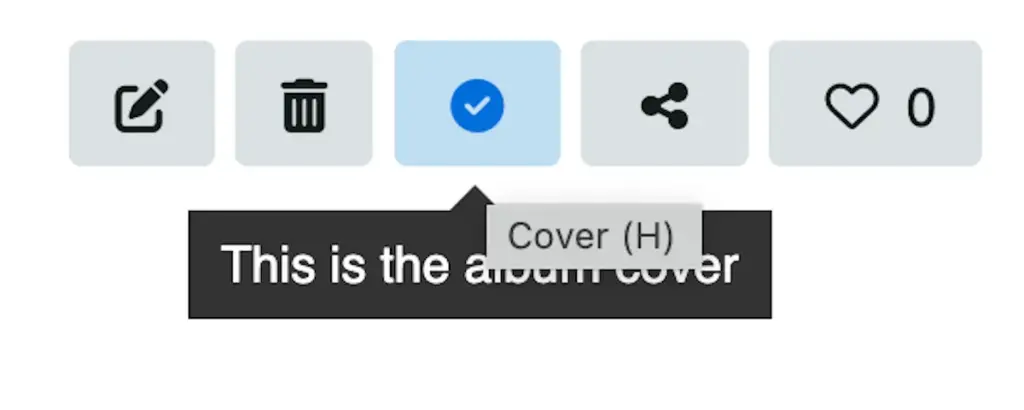
Once a photo is uploaded, it gets its own page where you can continue working with it. From there, you can edit its details, delete it, share it, like it, or choose it as the album cover when needed. In other words, the photo page is not just where the image lives, but where you manage it as part of your gallery.
See where uploads go next #
The steps make more sense once you can see the result in real galleries. Browse live cigar photo galleries in Explore to see how uploaded photos appear across tags, albums, profiles, and the wider feed, then open the upload page when you are ready to add your own images and start building a cigar archive from the first photo forward.


